Graveyard Orbit Weapons Tier List
S–C ranks for every weapon family across campaign wrecks and Overtime Mode.
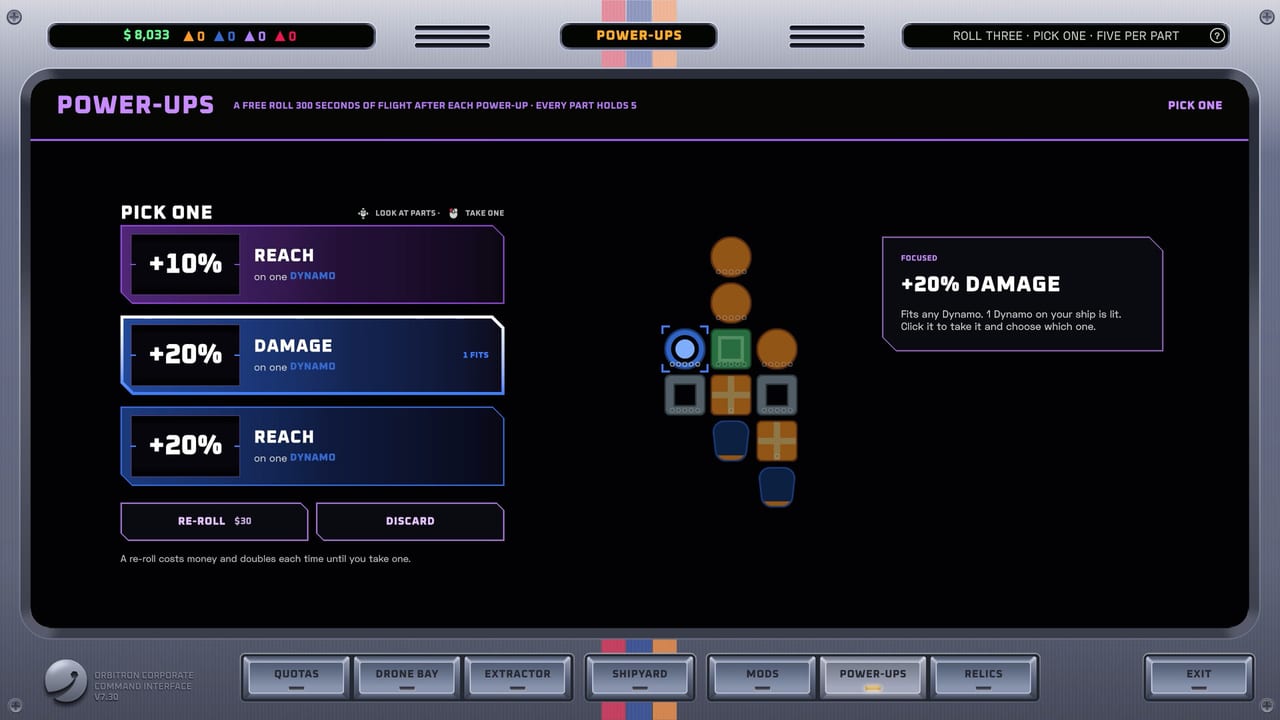
Graveyard Orbit gives you six weapon families—lasers, cannons, pulse, drones, contact, and gravitron—plus dynamo-style tools that color-match blue ore. This list ranks them for strip speed, power cost, and how well they scale from the first five-thousand-tile wreck to quarter-million-tile megastructures. Pair it with the mods tier list and the overview on the Tier List Hub.
Ranking criteria
We weigh matched-ore clear speed first, then power per tile, cargo loop synergy, and Overtime Mode reliability. Specialty control tools can sit lower on raw DPS yet still deserve a slot. Relics and research departments can nudge a family up a tier after unlocks; ranks assume a typical mid-campaign ship with a working Extractor belt.
S tier
Lasers (early–mid gold) — Lasers are the campaign workhorse when gold ore appears. They open the tutorial cleanly, scale with optics research, and feed laser-shard mod paths such as Quad lasers and Beam ramp. A laser wall melts black rock and gold seams while you expand cargo. Keep lasers S-tier for the first several structures and any contract that still floods gold tiles.
Dynamos (blue ore) — When blue density rises, dynamos outpace unmatched lasers. Color match is mandatory: blue ore shrugs off the wrong tree. Dynamos also unlock orb-focused mods like Crack, Surge, Phase Storm, and Aura Farm. Treat dynamos as S-tier the moment blue becomes the bottleneck, not as a late luxury.
A tier
Drones (sustain) — Drones deliver steady damage without forcing you to micro every turret angle. They shine on long Overtime contracts where attention drifts and on ships that already spend power on Extractor upgrades. Drones rarely lead the first hour, but they keep clear rates honest while you redesign the grid. Slot them A-tier for sustain and as a bridge when you pivot between laser and dynamo cores.
Pulse — Pulse weapons reward timing and area pressure. They sit just under the top clear tools but punish clustered tiles and help when megastructure layers thicken. Pulse is a strong A-tier secondary once research opens the branch and you have spare power.
B tier
Cannons — Cannons hit hard and feel great on thick plates, yet they often lose tempo to lasers on gold and dynamos on blue if you ignore match rules. Bring cannons for mixed black-ore layers or when a department buff lands. Expect B-tier performance until you invest in their specific upgrades.
Gravitron (specialty) — Gravitron parts excel at control: mines, voids, and crowd tools that shape how tiles break. They are not always the fastest strippers, so they land B-tier for general ranking and rise situationally when a structure spawns hazards that punish static laser walls. Keep one gravitron option researched for those contracts.
C tier (until late)
Contact — Contact weapons demand proximity. Early hulls die if you hug the glowing center too soon. Once shields, boost, and cargo loops are mature, contact becomes a late-game shredder on dense cores. Rank contact C-tier for most of the campaign, then promote it when your ship can survive the hug.
Early, mid, and late priorities
Early: Stack lasers, unlock basic cargo and Extractor nodes, and grab the first laser shards. Do not force contact or heavy gravitron kits. Follow Getting Started for the shipyard order.
Mid: Add dynamos as blue ore spikes. Introduce drones for sustain. Spend shards on Crack or Surge before cosmetic beam toys. Revisit mods whenever a new shard drops.
Late / Overtime: Hybrid walls—lasers plus dynamos—plus drone sustain clear large contracts. Contact joins when survivability allows. Gravitron fills control gaps. Confirm performance headroom on system requirements before multi-hour Overtime sessions.
Color match cheat sheet
- Gold ore → lasers
- Blue ore → dynamos
- Black ore → most weapons
- Wrong match → wasted power and stalled contracts
Obertron-style match rules are not optional flavor; they define whether your S-tier parts actually behave like S-tier.
Power, cargo, and Extractor
A perfect weapon grid fails if ore never reaches the Extractor. Balance turrets with belts, pickup radius, and haul value. Sometimes dropping one turret for cargo or factory upgrades raises coins per minute more than another laser. Economy context lives across Guides and the Updates Hub when multipliers change.
Common mistakes
Copying a late laser wall into a blue-heavy wreck. Ignoring drones until burnout. Unlocking contact before shields. Spending every shard on Quad lasers while Crack sits unused. Forgetting that Overtime Mode expects full growth inside one structure—bring a flexible kit, not a single-trick wall.
How to use this list with mods
Pick one primary family from S or A, one sustain tool, then two mods that amplify that family. Laser cores love Beam ramp, Quad lasers, Igniter, and Smelter themes. Dynamo cores love Crack, Surge, Phase Storm, and Aura Farm. Details and ranks live on the mods tier list.
Patch awareness
Weapon ranks will move when Anchorhead Games adjusts damage tables or research costs. Track changes in release notes and the broader Updates hub. Official purchase and community links sit on Links.
Build for the ore in front of you, keep Extractor paced with DPS, and promote contact only when your hull can afford the hug. That loop clears wrecks faster than chasing every shiny turret on the research board.
Frequently Asked Questions
Quick answers about mining, ships, and progression.
Why are lasers S-tier if dynamos also are?
Different ore. Lasers dominate gold and early wrecks; dynamos dominate blue. Rank both S within their match roles.
When should I unlock contact weapons?
After you have reliable shields, boost, and cargo. Contact is late-game; forcing it early wastes runs.
Are drones required?
Not mandatory, but they are the best sustain tool for long Overtime contracts and hybrid ships.
Does gravitron ever become S-tier?
Situationally on hazard-heavy structures. For general strip speed it stays specialty B-tier.
Where do I learn controls for aiming turrets?
See the controls page for keyboard and controller tips.