Graveyard Orbit Relics, Beacons, and Sealed Crates
Hunt beacon chains, open crates, and fire ship superpowers on demand.
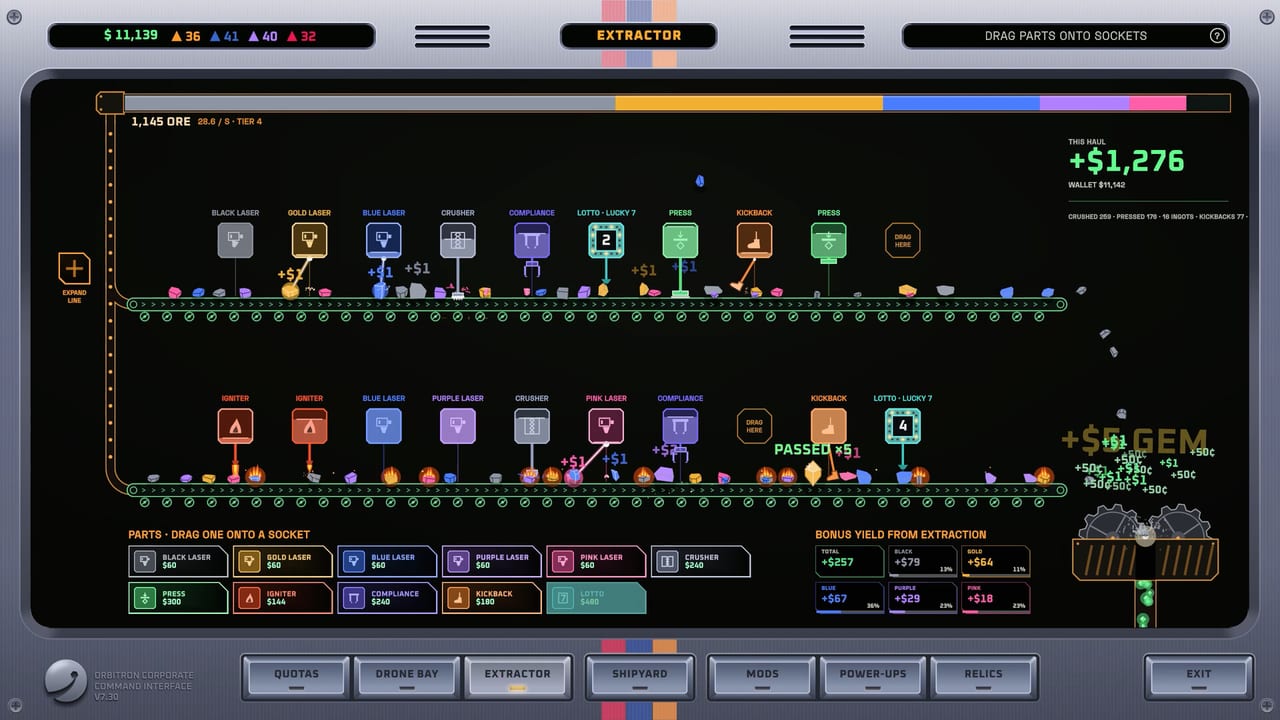
Relics turn a steady Graveyard Orbit mining run into a decisive cleanup. Anchorhead Games hides white beacons inside wrecks, chains those beacons into key drops, and locks powerful abilities inside sealed crates. Equip a relic on your ship and you gain a fireable superpower—Flamethrower cones, Missile Swarm barrages, Boost dashes, Chain Reaction cascades, and other R13-style tools that rewrite a stuck layer. This guide covers how to find beacons, claim relic keys, open crates, choose when to save versus spend an ability, and fold relics into mining and ship building plans without wrecking your power budget.
Relics are not a substitute for coverage or Extractor income. They are timed answers to sealed cores, dense shells, and Overtime spikes. Learn the hunt loop first, then treat each ability as a scarce resource.
How beacon chains work
White beacons nest inside wreck geometry—often tucked behind a soft face, under a ledge, or in a pocket you only see after clearing a corridor. Approach carefully during normal mining passes rather than ignoring side rooms. Beacons form chains: locating the first points you toward the next, and the third beacon in a chain typically holds a relic key.
Practical habits:
- Sweep outer shells in lanes so you do not skip beacon pockets while chasing raw ore volume.
- Mark mental notes when a white beacon flashes—do not leave the structure with an unfinished chain.
- Clear just enough tiles to open the path; you do not need to empty the whole wreck before following the next ping.
- If a threat forces a cargo return, finish the chain after the Extractor stop so the key is not stranded behind a resealed angle.
Keys exist to open sealed crates. Crates are distinct from sealed structure cores: crates are loot containers for relics, while cores are campaign progress gates. Bring the key, open the crate between runs or when the UI allows equip, and slot the relic into your loadout.
Equipping and activating relics
Once unlocked, a relic becomes a ship-mounted superpower. Activation is intentional—you fire it when the ability window helps, not on cooldown habit. Think of relics like limited executive tools Orbitron forgot to put in the employee handbook: dramatic, loud, and easy to waste on soft outer ore.
Before a contract, ask:
- Does this structure’s palette favor sustained lasers, or will I need a burst opener?
- Am I bringing a mobility relic because hidden threats punish static walls?
- Is the crate ability better spent on a sealed core than on shaving thirty seconds off a shell?
Pair relic choice with your mods tier list plan. Crack and Surge change weapon behavior every second; relics change the next ten seconds. They stack best when the mod keeps baseline DPS honest and the relic covers the spike the grid cannot.
When to save versus fire
Save the relic when:
- You still have unmatched soft shell to farm for Extractor cash
- Power is already brownouting and the ability would not finish a core alone
- You are learning a new layout and need the panic button for a later threat
- Overtime star goals punish messy, wasteful clears
Fire the relic when:
- A sealed core stalls progress despite correct facing and matched ore
- A dense plate layer would cost multiple cargo trips without a burst window
- Hidden defenses force a reposition and Boost-style mobility keeps you alive
- Chain-reaction style relics can ignite a prepared corridor of weakened tiles
Never empty the ability bar just because it looks cool on the first gold face. The fantasy is cleanup efficiency, not fireworks for SUNNY’s highlight reel.
Example relic archetypes
Exact names and numbers can shift with patches, but launch-week gameplay consistently shows these ability flavors:
Flamethrower — Wide cone pressure that melts contiguous faces. Excellent after you open a corridor and want to erase a whole wall segment. Pair with laser-facing ships that already sit parallel to the wreck.
Missile Swarm — Burst saturation for thick plates and awkward angles lasers skim past. Strong when you need short, violent DPS without rebuilding the entire grid mid-contract.
Boost — Mobility and reposition. Use when hidden threats punish camping, when cargo is full and you must leave cleanly, or when a core demands a new approach face.
Chain Reaction / cascade styles — Reward prepared fields. Soften a lane with normal weapons, then trigger the cascade so value tiles break in sequence. Wasted if you fire into untouched dense cores with no setup.
Treat these as templates. If a patch renames or retunes an ability, the save-versus-fire logic still holds.
Relics inside the wider progression loop
Beacon hunting sits beside ordinary contracts. Keep hauling ore, keep feeding the Extractor, and keep unlocking departments so your baseline ship does not depend on relics every minute. Relics shine brightest when the hull is already competent—generators online, cargo sized, weapons facing the right silhouette.
In Overtime Mode, relic timing matters more because you cannot hop to a friendlier wreck. Star chasers should conserve abilities for rating-critical cores. Executive Privileges experimenters can burn relics earlier to learn breakpoints, then rebuild for a cleaner star attempt later.
Cross-check weapon priorities on the weapons tier list when a relic tempts you to abandon color match. A Flamethrower does not fix a blue-heavy structure if your mounted tools still ignore dynamo rules.
Beacon hunting checklist
- Sweep side pockets while clearing shells; white beacons hide in wreck clutter
- Finish three-beacon chains before abandoning a structure
- Spend relic keys on sealed crates, then equip before the next hard contract
- Reserve abilities for cores, dense plates, or threat spikes
- Align relic type with ship facing and mining corridor plans
- Revisit ship building if power or weight makes activation awkward
- Review mods so passive DPS and active relics do not fight each other
- Practice long-session relic discipline in Overtime Mode
Master beacons and crates and Graveyard Orbit’s mid-game stops feeling RNG-gated. You will know where to look, when to open, and when a single Flamethrower or Missile Swarm turns a stubborn megastructure into another tidy Orbitron cleanup.
Frequently Asked Questions
Quick answers about mining, ships, and progression.
Where do white beacons hide?
Inside wreck geometry—side pockets, ledges, and corridors. Sweep systematically while mining instead of only farming the nearest soft face.
How do I get a relic key?
Follow a beacon chain. The third beacon in a chain typically drops the relic key used to open sealed crates.
What do sealed crates contain?
Relics—equipable ship superpowers such as Flamethrower, Missile Swarm, Boost, or chain-reaction style abilities.
Should I fire relics on every soft shell?
No. Save them for sealed cores, dense plates, threat spikes, or Overtime moments where baseline DPS stalls.
Do relics replace good ship building?
No. Relics complement a powered, well-faced grid. Fix coverage and Extractor income first, then time abilities on purpose.