Ship Building in Graveyard Orbit
Grid budgets, placement rules, and chassis evolution that actually clear wrecks.
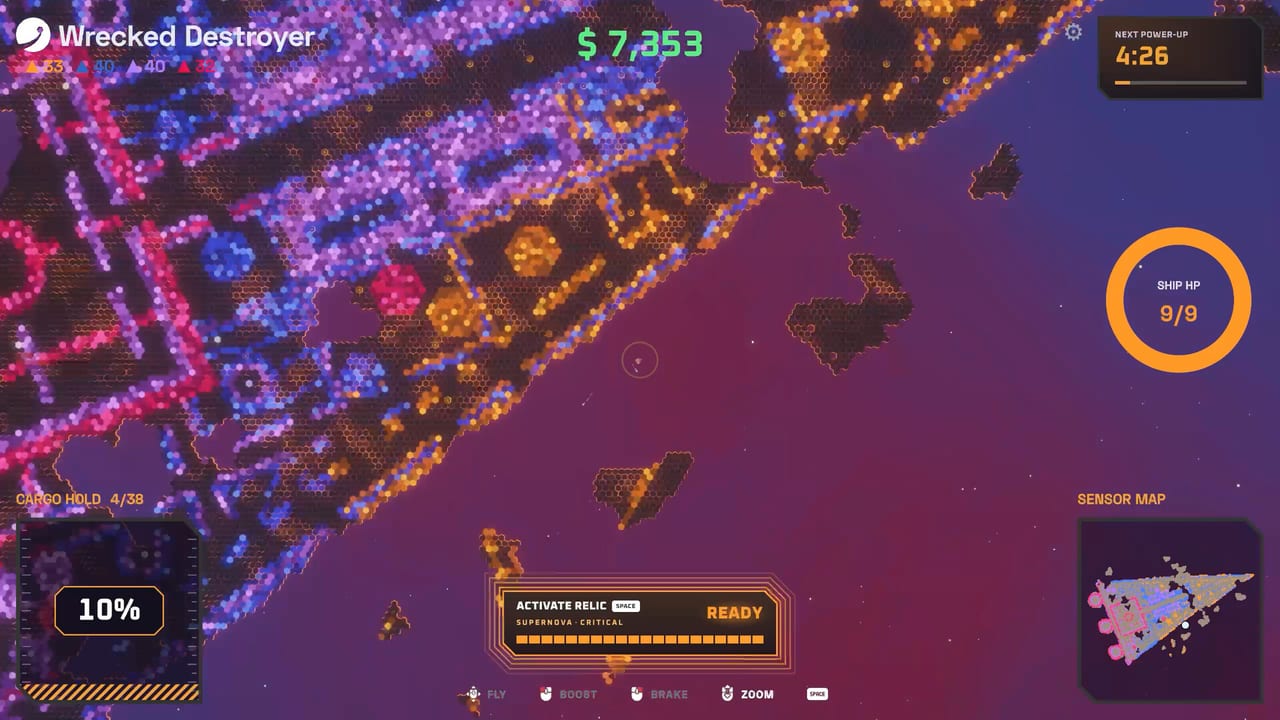
Ship building is the heart of Graveyard Orbit. Anchorhead Games designed the shipyard so every part spends power, weight, or cargo, and so placement decides which tiles your weapons can see. A pretty silhouette that cannot feed its lasers will stall on layered megastructures; a humble grid with clean coverage will finish contracts and fund the next department unlock. This guide assumes you already finished Getting Started and want layouts that scale from the first wreck to late structures.
Grid budgets: power, weight, cargo
Treat the three budgets as a triangle you renegotiate after every haul.
- Power keeps weapons firing. Lasers, pulse, and many mods are hungry. If DPS drops mid-run, you are power capped, not “unlucky.”
- Weight limits how aggressively you can stack armor, contact tools, and heavy frames. Overweight ships feel sluggish when you need to reposition around sealed cores or threat pockets.
- Cargo decides trip length. Short cargo forces constant returns and kills clear speed even if your weapons are strong.
Early builds should leave spare power before stacking a third weapon. Mid builds should expand cargo whenever you notice returning with a half-cleared shell. Late builds rebalance weight when frame tokens evolve the chassis into a wider platform.
Placement decides hitboxes
Weapons only hit what their facing and range allow. A wall of lasers on one edge melts that side of a wreck and ignores the far side. Mirror coverage when the structure is roughly symmetric; bias coverage when a contract favors a single approach corridor. Contact weapons want adjacency. Drones want launch space and safe orbits. Cannons and pulse want clear firing lanes. Gravitron tools often want central mounting so their pull or crush effects cover more of the silhouette.
Before you buy another barrel, rotate the ship in the shipyard preview and ask: which tiles still never light up? Fix dead zones with placement before you fix them with spending.
Six weapon trees on one hull
Graveyard Orbit offers six trees: lasers, cannons, pulse, drones, contact, and gravitron. You can mix, but beginners progress faster by specializing. Lasers are the friendliest onboarding path and feed naturally into a laser wall build. Cannons punch thick plates. Pulse rewards timing and burst windows. Drones add independent mining pressure. Contact shines when you can hug the wreck safely. Gravitron reshapes how tiles break and move.
Cross-check relative strength on the tier list and weapons tier list after each major update. Meta shifts when mods and relics change breakpoints.
Departments, research, mods, and relics
Departments unlock weapon families and ship parts. Research trees open branches such as rapid beam or charge variants. Shards found while mining research into mods that rewrite weapon behavior—more pierce, different shot patterns, altered power draw. Relics grant powerful abilities that can carry a weak layout through a nasty core, but they should complement the grid, not hide a broken power plan.
Spend research on the tree you actually mounted. A gravitron mod does nothing for a pure laser wall. Keep a small reserve of shards for the next department gate so you are not stuck mid-contract.
Frame tokens and chassis evolution
Frame tokens evolve the chassis: more sockets, different silhouettes, better base stats. Evolve when you are power- or socket-starved, not the moment a token drops. A larger chassis with empty, unpowered sockets is just a heavier brick. Pair each evolution with cargo and generator upgrades so the new space becomes productive on the next mining run.
The embedded upgrade run above shows a tiny salvage pod growing into a dense laser platform—watch how cargo, energy, and weapon rows expand together instead of one system racing ahead alone.
Build templates that scale
Starter laser spine: central power, forward lasers, modest cargo wings. Goal: finish small contracts without brownouts.
Balanced miner: dual-side laser or cannon coverage, expanded cargo, one utility mod slot. Goal: mid-size layered structures.
Specialist wall: max same-tree weapons along one or two edges, heavy generators, cargo sized for long passes. Goal: megastructure shells before Overtime.
Core breaker: mix of high single-target tools plus a relic that helps sealed cores; keep weight low enough to reposition. Goal: threats that punish static camping.
After each template, route ore through the Extractor before your next shopping spree. Multiplied credits buy cleaner grids than raw ore panic-buys.
Iteration checklist
- Clear a test slice of the current wreck and note dead zones.
- Return, Extrator-process, and list the single biggest bottleneck (power, cargo, coverage, or weight).
- Change one axis only, then retest.
- Log which color-match ores felt slow—your weapon mix may be wrong for that structure’s palette.
- When the campaign layout feels solved, take it into Overtime Mode and see whether stars demand a different chassis.
Keep controls comfortable for precise shipyard edits, confirm your PC still meets system requirements if you raise particle settings, and stash official links for patch notes that tweak part costs. Strong ship building turns Graveyard Orbit from a slow cleanup job into a satisfying, repeatable salvage machine.
Frequently Asked Questions
Quick answers about mining, ships, and progression.
Why do my weapons stop firing mid-run?
You are usually power capped. Add generators or drop a hungry module before buying another weapon.
Should I mix all six weapon trees?
Not early. Specialize for coverage and mods, then hybridize once departments and research support multiple trees.
When do I spend frame tokens?
When sockets or base stats block progress—and only if you can power and fill the new chassis immediately.
Does weapon placement really matter that much?
Yes. Placement controls which tiles you can hit. Fix facing and coverage before spending on raw damage upgrades.
Where should I go after a solid ship layout?
Optimize mining routes, then Extractor value, then consider a laser wall or Overtime Mode stars.